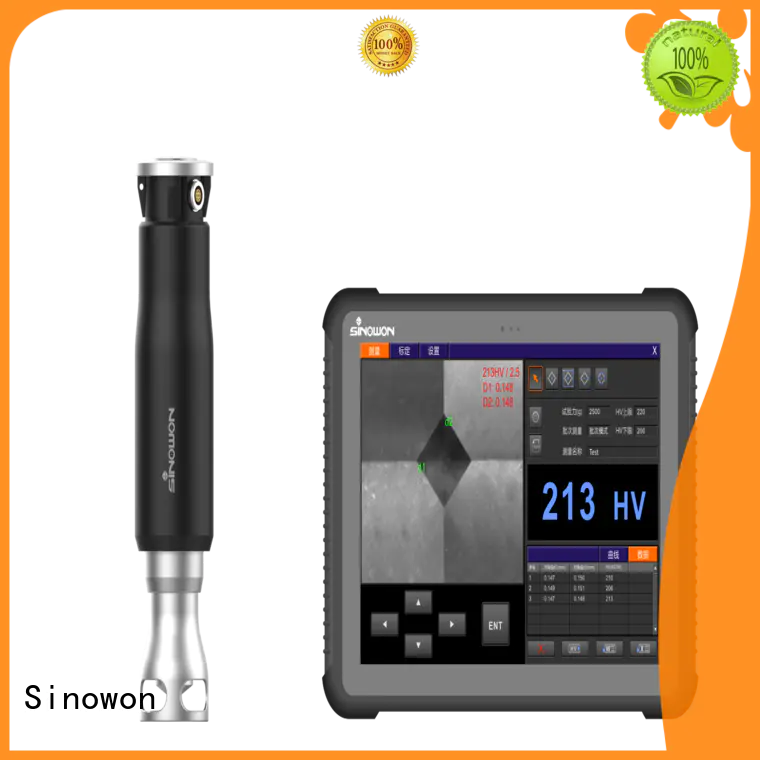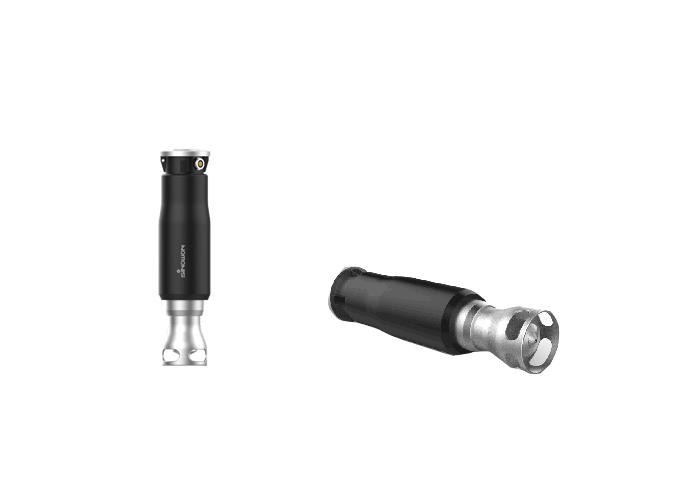
Rockwell hardness tester is suitable for measuring specimen with mid-high hardness. Brinell hardness tester is fairly suitable for soft material. But Vicker hardness tester could measuring kinds material from soft to hard. The traditional Vickers hardness tester due to limit of the optical mechanism and mechanical mechanism, it can not be applied to the scene of large parts for non-destructive measurement. And the Lee hardness tester and ultrasonic hardness tester are compared to the hardness of Titanium and other new materials can not be accurate measurement, in particular, the Lee hardness have higher requirement of the specimen thickness and roughness. Therefore, POT is a portable mini Vickers hardness tester, which will be the traditional desktop Vickers hardness tester into a hand-held probe inside, can easily carry, at any time in the laboratory, production workshop, field workstations on the specimen Vickers hardness measurement.
Measurement and evaluation: Direct, Automatic, Fast
Through Indenter Viewing means that you can see the indentation of the Vickers diamond "grow" on the surface of the test object at the same time as the test load is applied – this is ensured by special optics and a CCD camera. As soon as the test load is reached, the indentation is automatically evaluated and transferred, which means that the diagonals are directly determined, without making a detour via a measuring microscope. Your benefits: the measurement is not only faster but also excludes subjective errors in the determination of diagonal lengths
Plus: by representation on the display, the POT is the only hardness tester to enable direct control and immediate evaluation of the measurement quality. In addition, the image of the indentation enables direct recognition of the diamond's condition.

POT Advantages – your benefit:
POT can be used irrespective of the material – without any additional calibration. You can use the same instrument to measure the hardness of all sorts of materials without any reference specimen and without any laborious settings: from steel and nonferrous metals through plastics, carbide metals, glass, and ceramics up to different coatings. The static application of the test load reduces the vibration of the test object and therefore the influence of the test material’s elastic properties on the test result.
Yet another benefit: you can use the POT to measure even very thin test objects(≥0.1mm), such as coils or sheet metal and metal foils, on which stationary or mobile hardness testers have previously failed, without any problem. Consequently, hardness testing becomes independent not only of the material but also of the mass and geometry of the test object. This means that the POT opens up new application fields for mobile hardness testing.
POT can measuring any quality material ( only thickness ≥0.1mm).

POT Extensive fields of application:
POT‘s standards in mobile hardness testing: tests are not only independent of the test position and direction of testing but in this case also of the test object’s material and mass or geometry. Hereby the POT opens up a large variety of new application fields which were previously not open to portable hardness testers. Some application examples of possible application areas for the POT hardness tester are as follows:
• Heat treat shops – easy and fast determination of surface hardness, no calibration required
• Aviation – on-site hardness testing on thin-walled components and on different alloys without any additional
calibration
• Manufacturers of coils – at last reliable mobile hardness testing on sheet metal
• Testing companies – on-site measurement by means of a universal, portable unit
• Research institutes, labs, and training companies – ”view through the diamond”:observation of the indentation process, and measurement control
POT Specifications and Accessories:
Product Name | POT Portable Vicker Durometer | |||
Model | POT-H2 | POT-A1 | POT-A2 | |
Code | 888-111 | 888-121 | 888-131 | 888-141 |
Manual | Manual | Automatic | Automatic | |
Manual | Automatic | Manual | Automatic | |
Test Probe | ||||
Data Processor and Display | 3-proof Table PC; HD 10.1”display, 1/2.8”200M pixels the optical system | |||
Dialog languages | Chinese/English | |||
Resolution | ||||
Conversion Standard | ||||
Report Form | Test data curve, output in tabular form, including picture, statistical data calculation report format output | |||
Input Device | Keyboard and Mouse | |||
Power Supply | Adapter(100V–240V),NI-MH Battery 3.7V/10000mAh | |||
Operating Time | approx. 240 mins continuous operation | |||
Temperature ranges | Operation temp:0°C-50°C(Storage temp:- 20°C-60°C) | |||
Weight | Approx 3Kg | |||
Size | Probe:D:¢62mm x H:255mm; Host:272mmx195mmx22mm | |||
POT Probe 1 set
Table Computer 1 set
Control Line 1pc
Tool Kit 1 pc
Vicker Software 1 pc
U disk 1 pc
POT Optional Delivery:
Micro Vicker hardness block 1pc
Portable Polisher Machine
Note: POT is MINI's Vickers hardness tester.
Please use the polisher machine before testing surface, Because of it is important affect of the surface roughness of the measurement result. Please refer to the surface roughness equivalent level of the Vicker hardness tester.
Copyright © 2018 Sinowon Innovation Metrology Manufacture Limited. | All Rights Reserved 粤ICP备16062806号
Hello, please leave your name and email here before chat online so that we won't miss your message and contact you smoothly.